Chisels, Slicks, and Squares: Your First 5 Hand Tools for Timber Framing (and Why Your Grandpa Was Right)
Your first five hand tools for timber framing—framing square, chisels, slick, marking knife, and wooden mallet—are more than nostalgia. They’re precision instruments that still outperform power tools when joinery really matters.
Let’s be honest: if you’ve ever tried to fit a tenon into a mortise using only a power drill, a hope, and a YouTube tutorial—you’ve probably spent more time swearing than sawing.
Welcome to timber framing: where gravity is real, wood fights back, and the right hand tool doesn’t just make the job easier—it saves your sanity (and your thumbs).
Before CNC routers hummed and cordless drills took over the world, frames rose using tools so simple they look like museum pieces today. But here’s the twist:
Those classic tools are still essential—not for nostalgia, but for precision.
For control.
For feel.
For that deeply satisfying thwack of a wooden mallet driving a razor-sharp chisel exactly where it needs to go.
So grab a coffee (or a cider, we don’t judge), and meet your first five hand tools—the unsung heroes of honest joinery.
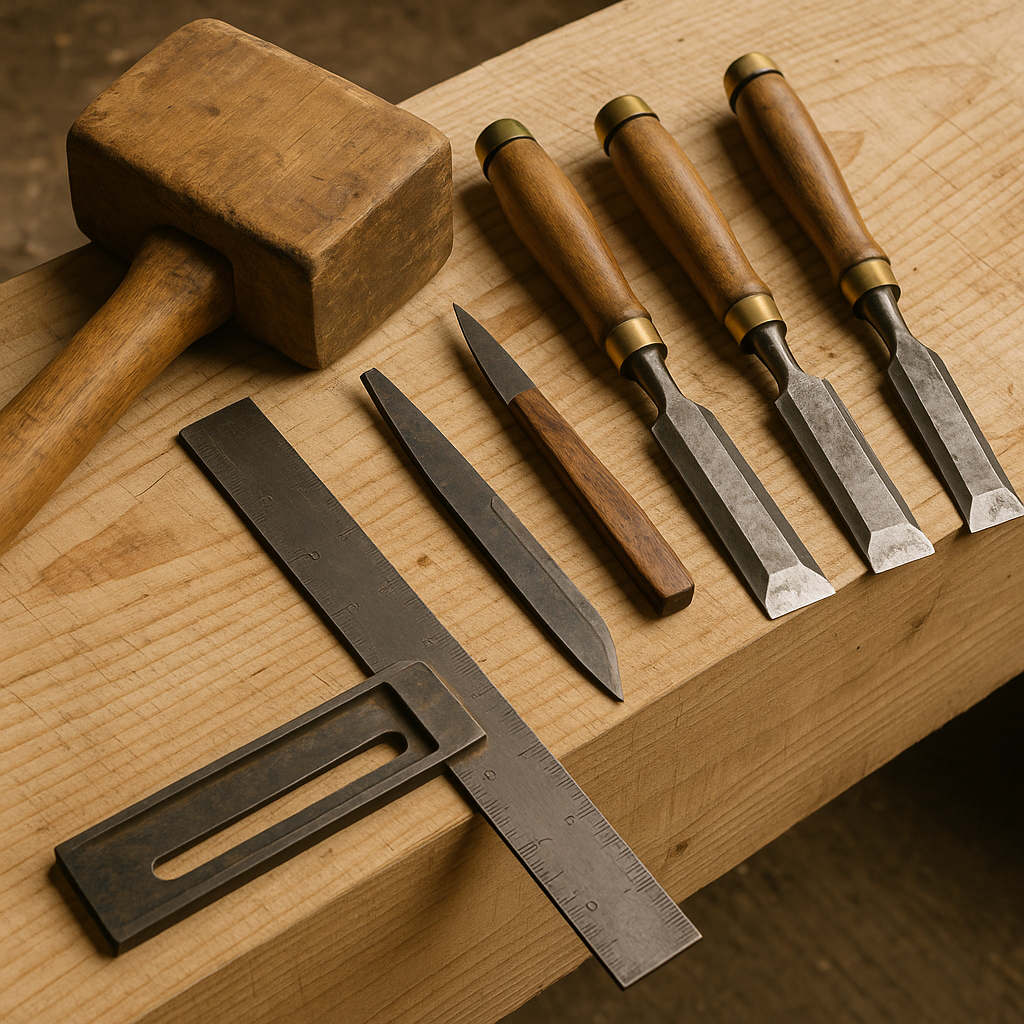
1️⃣ The Framing Square — Your Layout GPS
Picture this: you mark a line, cut it, assemble the joint… and the corner leans like a tower after too many drinks.
That’s what happens when your square isn’t actually square.
A proper steel framing square—24 × 16 in (610 × 406 mm), ideally with rafter tables and tenon layout tables stamped in—is your compass, protractor, and angle referee all in one.
It lays out mortises, checks beam shoulders, and confirms that “square” means square, not “close enough if you squint.”
Pro tip: Test your square with the 3-4-5 rule:
3" (75 mm) on one leg, 4" (100 mm) on the other—the diagonal must be exactly 5" (125 mm).
If not? That’s not rustic charm. That’s future wobble.
Budget pick: Used Stanley or Swanson ($15–$30).
Upgrade: Borneman Layout Tool or Chappell Universal Square—think of them as the framing square’s PhD version.
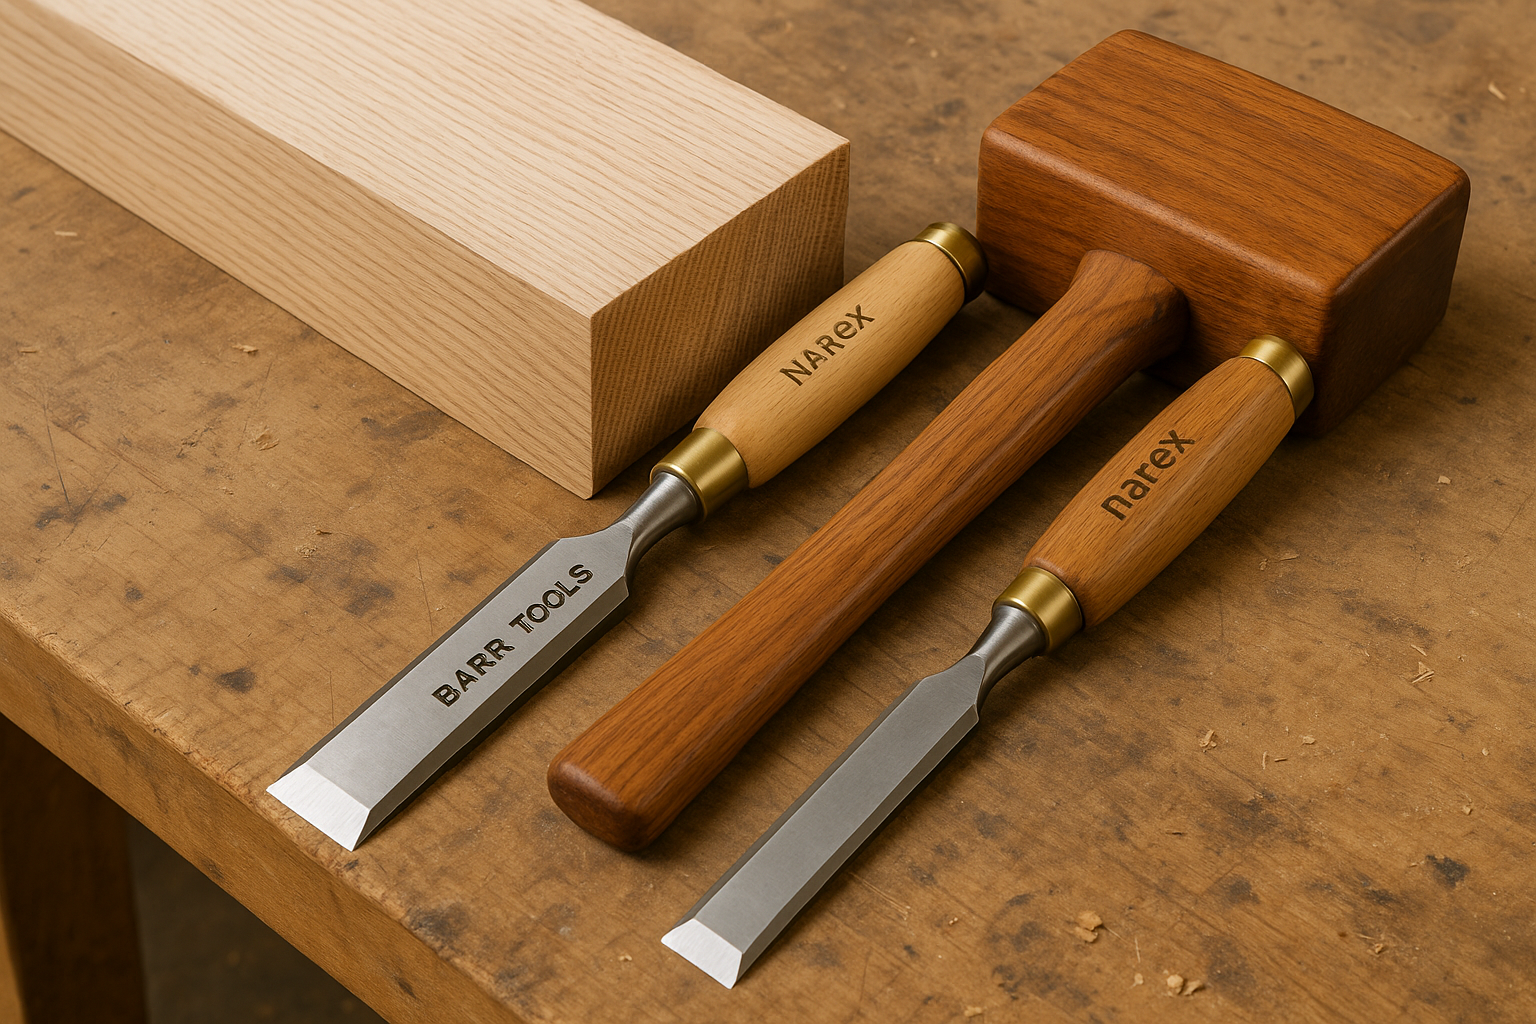
2️⃣ The Timber Framing Chisel — Not Just a “Sharp Stick”
You might own chisels.
But timber framing chisels? Whole different species.
Standard cabinet chisels are too delicate. Ask one to clear a 2 × 3 in (50 × 75 mm) mortise in white oak and it will spiritually leave its body.
Timber chisels are wider, thicker, longer, and designed to survive repeated mallet strikes. Common sizes 1–3 in (25–75 mm) cover 90% of joinery.
Fun fact: A dull chisel doesn’t cut—it slides. And when it slides off hardwood? It heads directly toward your knuckles.
Sharp tools are safe tools. Sharpening isn’t a chore—it’s self-defense.
A $40 chisel works. A $140 chisel works better and stays sharp longer. If you’re doing more than one frame? Invest in good steel.
3️⃣ The Slick — The Big Brother Nobody Told You About
Imagine a chisel, but:
- 24–30 in (600–750 mm) long
- Two-handed handle
- Designed for sweeping, not chopping
That’s a slick.
It’s used to shave beam faces, level tenon shoulders, correct proud joints, and smooth high spots after dry-fit.
Visual: Using a slick feels like conducting an orchestra.
The beam is your audience.
A perfect shoulder earns a standing ovation.
You might not need one on day one—but the first time a joint is proud by 1⁄16 in (1–2 mm) and refuses to seat? You’ll whisper:
“Where’s the slick?”
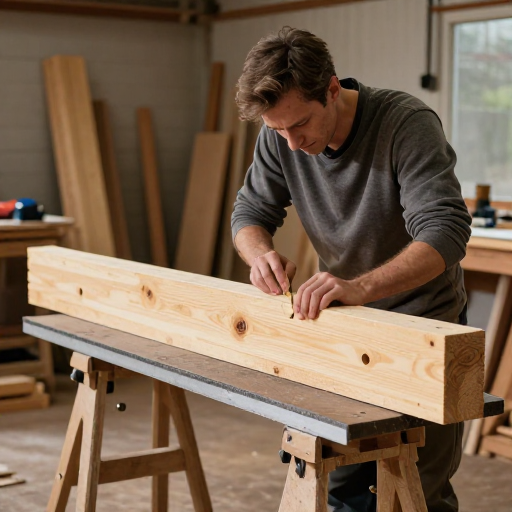
4️⃣ The Marking Knife — Because Pencils Lie
Pencils smudge, wear down, wobble across grain, and create thick fuzzy lines that betray you at the worst moment.
A marking knife doesn’t mark—it scores.
It cuts a fine groove that your saw or chisel locks into, producing joints so tight they make you question reality.
Hard truth from an old master:
“If the knife line is visible after assembly, you didn’t fit the joint. You hid the gap.”
Start with a Japanese single-bevel knife. Keep it sharp. Keep it close.
And keep the emergency chocolate near it, too.
5️⃣ The Wooden Mallet — The Gentle Giant
Steel hammers? Great for demolition. Terrible for chisels.
Timber joinery needs wood hitting wood.
A heavy beech or lignum vitae mallet delivers clean, controlled force without destroying your chisel handle or sending shockwaves up your arm.
Comedy moment: Nothing says “I’m new at this” like the crack of a chisel handle exploding from a steel hammer blow.
(We’ve all been there. The chisel has not forgiven us.)
Pro tip:
Use two mallets—one light, one heavy.
Color code them. (Yes, #FEC81A is on-brand.)
🌲 Why These Tools Still Matter in the Age of Robots
CNC routers cut fast—but they can’t feel wood swelling overnight, or sense a joint that’s tight by two thousandths of an inch.
Hand tools give feedback.
They reveal grain.
They talk back.
And when batteries die, power fails, or software crashes?
A chisel, a square, a mallet, and a marking knife keep working—in the rain, in the forest, in the early morning silence when the frame is yours alone.
🧓 The Grandpa Verdict
So… was Grandpa right?
Absolutely.
Not because old is automatically better, but because fundamentals never expire.
These tools teach patience, precision, and respect for wood.
Your first five tools won’t build a cathedral—
but they’ll build confidence.
They’ll build accuracy.
They’ll build the instincts that turn “I hope this fits” into “I know this fits.”
They’re not relics.
They’re the quiet backbone of everything that lasts.
Now go sharpen something.
And maybe buy an extra chisel—you know it’s going to disappear.