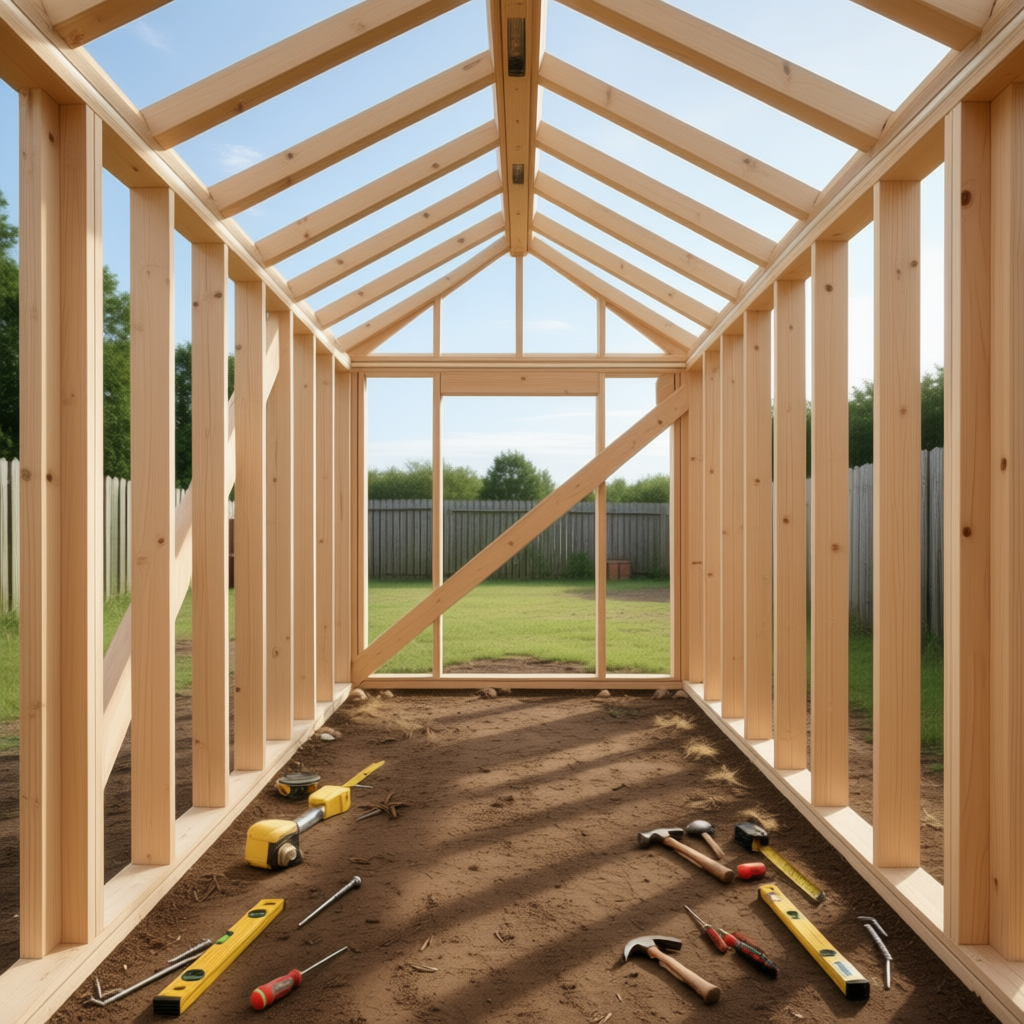
The Perfect Tool Kit for a Timberframe-Style Pergola (Imperial + Metric)
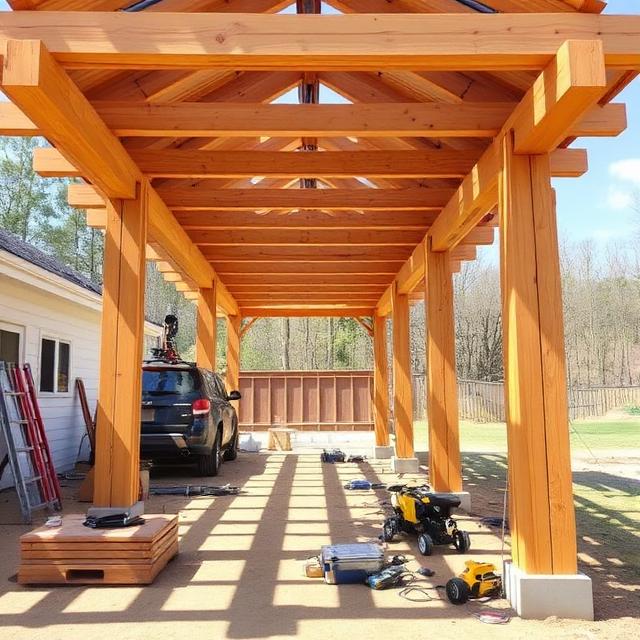
Build a real timberframe-style pergola in one weekend using modern tools and hardware. This complete imperial + metric tool list covers layout, cutting, assembly, and finishing—no fantasy tools, only what actually works on site.
Everything You Truly Need From Scratch — No Guesswork, No Fantasy Tools
So, you’ve fallen for that rugged, handcrafted timberframe aesthetic—exposed joinery, chunky posts, massive beams, unapologetic structure—but you’re not exactly ready to carve mortise-and-tenon joints with medieval hand tools. (Respect if you are.)
Here’s the good news:
👉 With modern hardware and the right tools, you can build a real timberframe-style pergola in a single weekend—clean, strong, and professional-looking.
This guide shows you only the tools that actually matter, from layout to final tightening.
No marketing fluff. No fantasy workshop. Just what works on a real build site.
Think of it as:
Old-world timber look. Modern-day execution.
🛠️ PHASE 1 — Planning & Layout
Measure Twice. Fix Nothing Later.
A timberframe pergola forgives nothing.
If your layout is crooked, everything above it will be crooked forever.
✅ Essential Layout Tools (Imperial + Metric)
- 25 ft / 7.5 m Tape Measure (fiberglass or steel)
Long spans, diagonal checks, post spacing. Cheap tapes flex and ruin accuracy. - 4 ft / 120 cm Level
Mandatory for posts. Short levels lie over tall heights. - 24 in / 60 cm Torpedo Level
Perfect for beam checks while working on ladders. - Chalk Line + Carpenter’s Pencil
Use blue chalk outdoors (UV resistant, washable). - Speed Square — 7" / 180 mm
Fast 90° & 45° marking on every cross-cut. - Framing Square — 16" × 24" / 40 × 60 cm
Structural alignment, beam layout, rafter spacing.
✅ This one is non-negotiable.
💡 Pro Builder Rule
Stake your pergola footprint and stretch strings.
👉 Both diagonals must match perfectly.
That’s the only way to prove real square at full scale.
🔨 PHASE 2 — Cutting & Shaping
Big Timber Requires Big Control
Real pergola dimensions mean:
- 4×4 in / 100×100 mm posts
- 6×6 in / 150×150 mm posts
- 8×8 in / 200×200 mm beams
You need saws that cut clean, straight, and repeatable on exposed wood.
✅ Main Power Saws
🔹 10¼" / 260 mm High-Torque Circular Saw
- One-pass cuts through 150 mm timber
- Two-pass cuts through 200 mm beams
- Far more stable than 185 mm saws
- Use a 40-tooth carbide blade for exposed faces
✅ This is the correct saw class for real pergola work.
🔹 12" / 305 mm Sliding Compound Miter Saw
Perfect for:
- Rafters
- Beam ends
- Repeatable roof angles
Sliding motion = wide stock capacity.
Without this saw → your pergola will look DIY in the bad way.
🔹 7¼" / 185 mm Angle Grinder with Wood Carving Disc
Used for:
- Notches
- Beam seats
- Chamfers
- Decorative shaping
⚠️ CRITICAL SAFETY RULE
✅ Only use:
- Chainsaw carving discs
- Structured wood shaping discs
❌ Never thin metal cutting discs
❌ Never without full guard
❌ Never one-handed
👉 This is the most dangerous tool on the job.
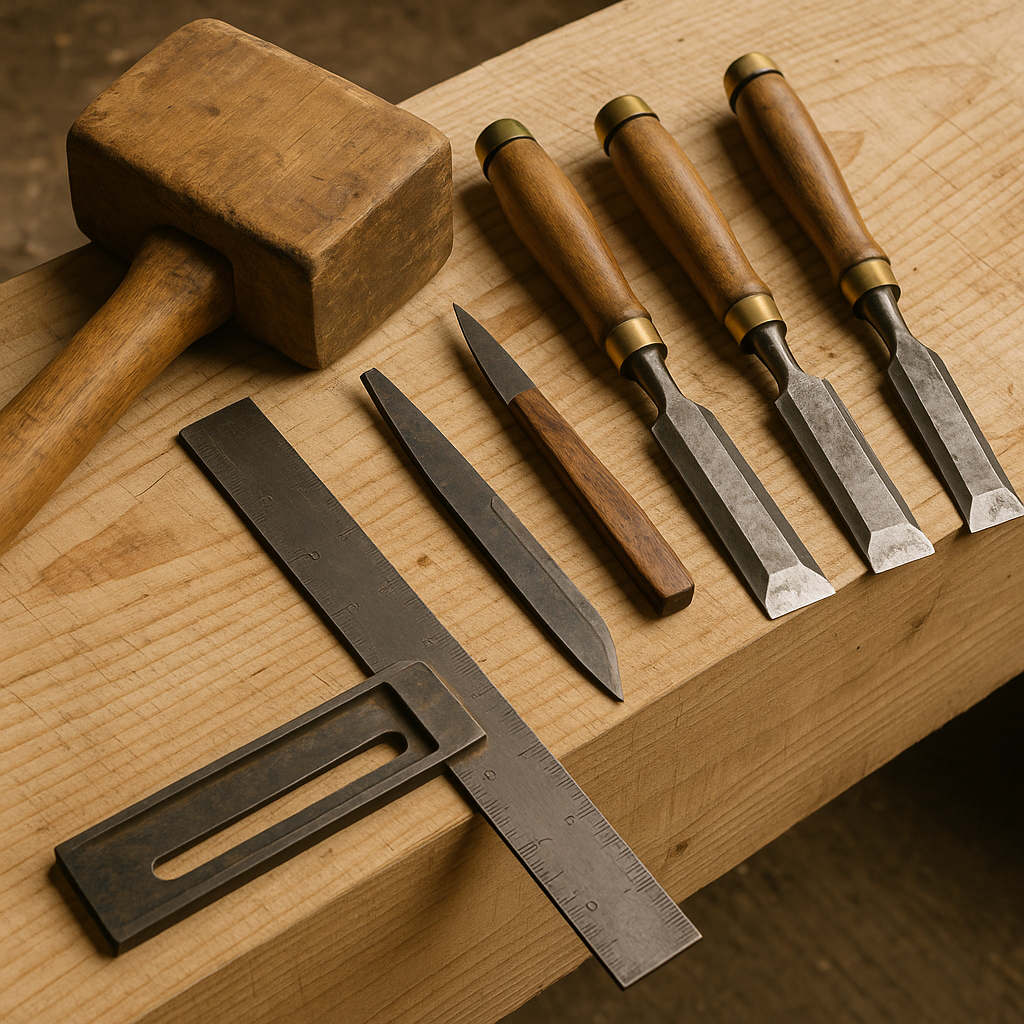
✅ Precision Hand Tools (Finish Work)
- 36" / 900 mm Japanese Ryoba Pull Saw
Perfect for trimming proud joints with zero tear-out. - Chisel Set up to 2½" / 60 mm
For:- Squaring corners
- Cleaning grinder marks
- Softening edges
Sharp chisel = safe chisel.
Dull chisel = hospital.
🔩 PHASE 3 — Joinery & Assembly
Modern Hardware. Real Structural Strength.
True timber look — without traditional joinery headaches.
✅ Structural Hardware
- Concealed post-to-beam connectors
- Heavy steel knee braces
- Structural wood screws — ¼" × 3½" / 6 × 90 mm
✅ No pre-drilling
✅ Massive holding power
✅ Clean modern timber aesthetic
✅ Correct Driving Tool (Important!)
✅ ¼" HEX Impact Driver (60–80 Nm) — the correct tool for timber screws
❌ ½" Impact Wrench is for:
- Car wheels
- Steel bolts
👉 It will destroy timber screws.
✅ Holding & Alignment
- 48" / 120 cm Pipe Clamps
- Quick-grip clamps
- Temporary bracing boards
👉 You cannot align 6×6 posts alone without clamps.
Physics always wins.
✅ Drilling & Bolting
- Wood bits 6–12 mm
- Large auger bits Ø25–40 mm
- Ratchet & sockets M13–M19
💡 Golden Rule
👉 Always dry-fit the full frame on sawhorses first.
10 minutes of dry-fit saves:
- Crooked posts
- Twisted beams
- Hundreds in ruined timber
🧰 PHASE 4 — Finishing
Where It Starts Looking Like Real Craft
✅ Surface Prep
- 5" / 125 mm Random Orbital Sander
- P120 → texture preserved
- P180 → splinter-free
✅ Do not over-sand.
Tool marks = character.
✅ Shou Sugi Ban (Optional, But Powerful)
- Propane torch
- Hard bristle brush
- Tung oil or exterior hard wax oil
Benefits:
- Natural bug resistance
- Water resistance
- Deep black texture
- Massive visual impact
Pinterest absolutely loses its mind over this finish.
✅ Exterior Sealing
- Brush, roller or low-pressure sprayer
- Spray shield to protect stone, walls & decking
🪵 Timber Selection — What Actually Works
✅ Posts & Beams
- Douglas fir
- Cedar
- Thermally modified ash
❌ Avoid pressure-treated timber for visible work:
- Warps badly
- Bleeds chemicals
- Cracks aggressively
✅ Rafters
- Pine
- Cypress
Lighter, cheaper, solo-lift friendly.
✅ Builder’s Rule
👉 Always buy +10% extra timber.
One spare beam is cheaper than a ruined Sunday.
🏁 Final Thought — Craft Over Brute Force
You don’t need a medieval timber guild.
You don’t need hand-cut mortises.
With:
- ✔ Correct layout
- ✔ Proper-sized saws
- ✔ Modern connectors
- ✔ Respect for the wood
You can build a pergola that looks like a 200-year-old tradition and performs like modern engineering.
And when someone asks:
“Did you really build this yourself?”
You get to smile and say:
“Yeah. One weekend.”