From a Timber Frame Model to a Material List
See how one timber frame model connects piece counts, dimensions and material planning, with quantities from a real house example.
A timber frame design becomes more useful when you can see the material behind it. How many pieces does it contain? Which lengths repeat? What changes when you change the design?
FrameVerk connects those questions to the same project you see in 2D and 3D. You design in a desktop browser, then review timber information from the members in that model. Simple wall and roof tools let you build the design without installing another application. The material list gives you a practical next step after the drawing.
Start with the pieces in your model
A useful material list begins with the members you have designed. Their quantity, section, length and required cuts describe what the project contains. FrameVerk keeps this information connected to the model, so you do not need to enter each piece again in a separate spreadsheet.
This connection matters during design changes. When you change the frame, you can review the quantities from the current project. You can compare the timber information with the structure on screen and see which design you are discussing.
Complete the members that belong in your material calculation first. Then review their sizes and lengths before you add purchase assumptions.
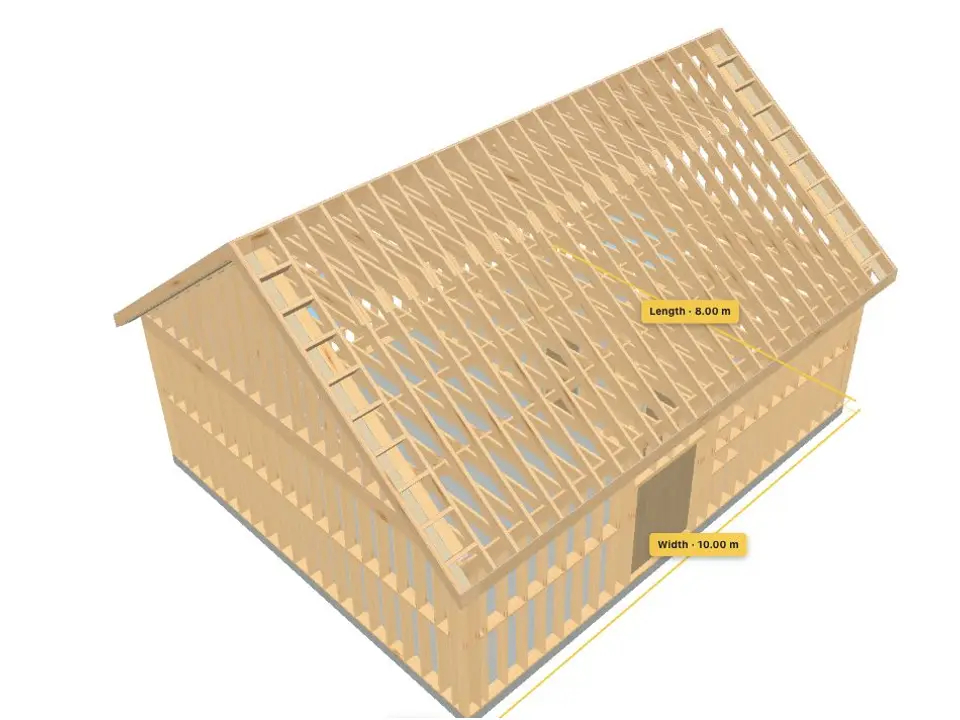
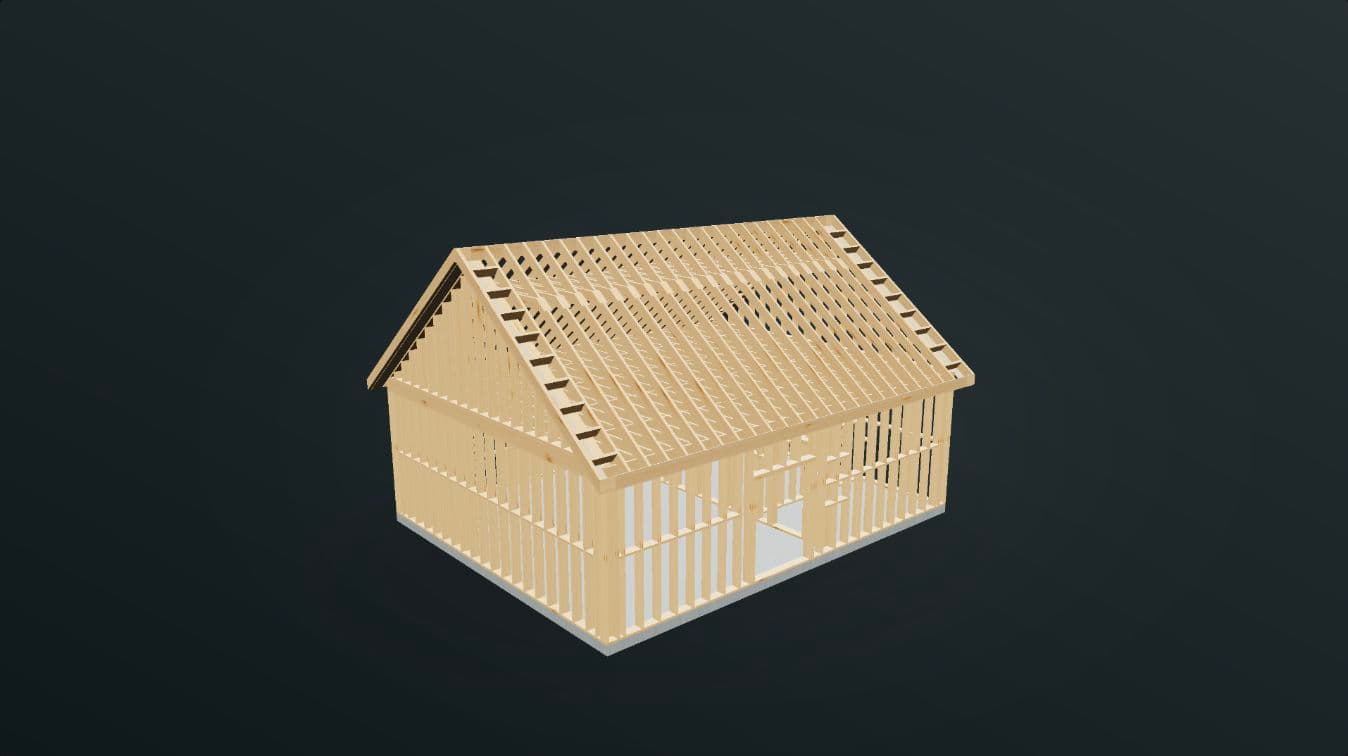
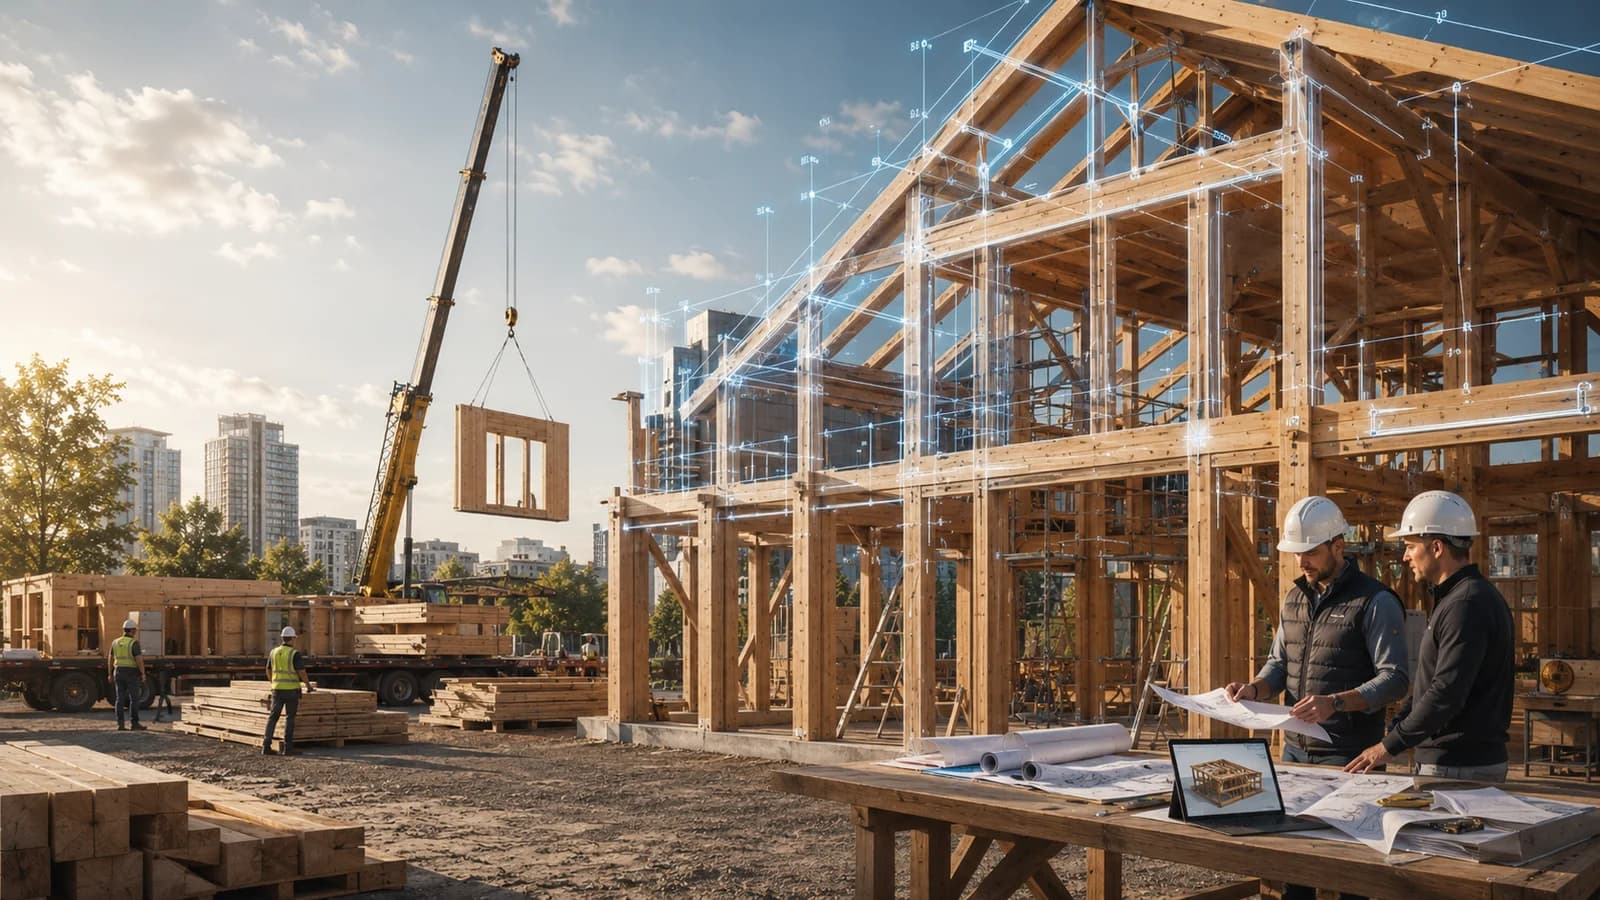
3D model in FrameVerk.
See the result for one house
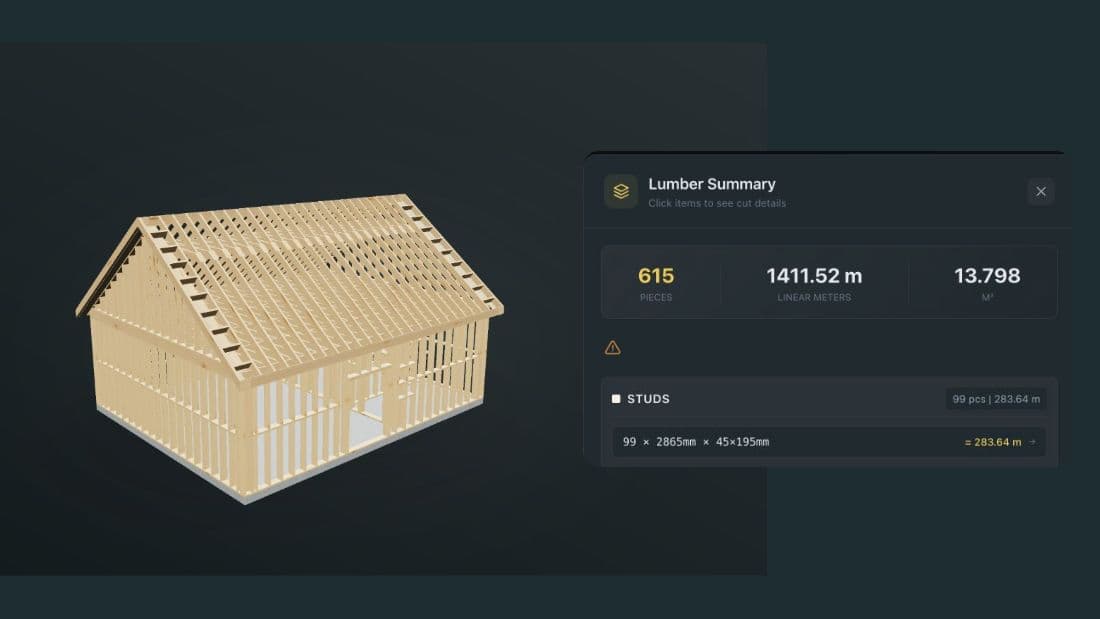
The public house example measures 8 × 10 m, approximately 26 ft 3.0 in × 32 ft 9.7 in. Its published model quantities show 615 pieces, including four soffit panels. The total length is 1,411.52 m, approximately 4,630.97 ft. The total volume is 13.798 m³, approximately 487.27 ft³.
These figures describe one model. They connect a visible building to a count and a measured quantity of material. You can open the same house in the public 3D viewer without an account.
The quantities are useful for planning and discussion. They are not a list of stock to order.
Look at a group of pieces
A total volume gives you one view of the project. A group of matching pieces gives you another.
The same house includes a group of 99 studs. Each stud is 2,865 mm long, approximately 9 ft 4.8 in. Its section is 45 × 195 mm, approximately 1.77 × 7.68 in. Both ends shown in the detail are 90 degrees.
You can now discuss a specific piece instead of only a total. The count tells you how many are needed in this group. The section and length describe their size. FrameVerk groups equivalent pieces while keeping different lengths, profiles and cuts separate.
Add the stock you can buy
The next step is to connect model quantities to available timber. A finished member length and a supplier's stock length serve different purposes. The cut plan must account for the pieces that come from each stock length and the material removed by the saw.
FrameVerk lets you review stock lengths and waste assumptions with the project. You enter the supplier prices that apply to your job. This supports an early material estimate and helps you compare design choices with the same price inputs.
Before you request an order, confirm the available sections, grades and lengths with your supplier. Check the price unit, delivery and taxes as well. A cubic volume alone cannot describe every stock item you need.
Review the list with the design
The benefit is a clear connection between the frame and its material information. You can inspect the design, review matching pieces and discuss the estimate from one project.
FrameVerk supports spreadsheet export and printable PDF output for reviewed cut lists. Those formats help with pricing, coordination and workshop preparation. Have the plans, material list and cut instructions checked by the appropriate professionals before purchase or construction.
Start with the public house example and its published quantities. Then join the waitlist for an invitation when editor access opens. You can see the result before you decide how this workflow fits your next timber frame project.
Sources
- FrameVerk, “Timber Frame Design Software & Cut Lists,” public house evidence, checked 25 September 2026: https://frameverk.com/en
- FrameVerk, “Timber takeoff and cut lists generated from the model,” checked 25 September 2026: https://frameverk.com/en/features/cut-list-takeoff
- FrameVerk, “Timber Frame Cut List Generator,” checked 25 September 2026: https://frameverk.com/en/solutions/timber-frame-cut-list-generator
- FrameVerk, “Timber Frame Lumber Cost Estimator,” checked 25 September 2026: https://frameverk.com/en/solutions/timber-frame-lumber-cost-estimator
- NIST, “NIST Guide to the SI, Appendix B.8: Factors for Units Listed Alphabetically,” checked 25 September 2026: https://www.nist.gov/pml/special-publication-811/nist-guide-si-appendix-b-conversion-factors/nist-guide-si-appendix-b8