Design a Timber Frame in Your Browser: A Complete Walkthrough
Follow a timber frame from its first dimensions to a 3D review and material list. See the browser workflow through a public house model.
FrameVerk connects your timber-frame plan, 3D model and material information in a browser. You do not need to install a CAD application. You can develop the frame in 2D, inspect it in 3D and review the timber information from the model.
This guide follows that process from the first dimensions to a shared design. It also shows what you can inspect before you request editor access.
1. Open the example on your current laptop
Start with the public house demo. You do not need an account to inspect it. FrameVerk runs in a modern desktop browser, so there is no CAD application to install. Try the model on the laptop you use for your work.
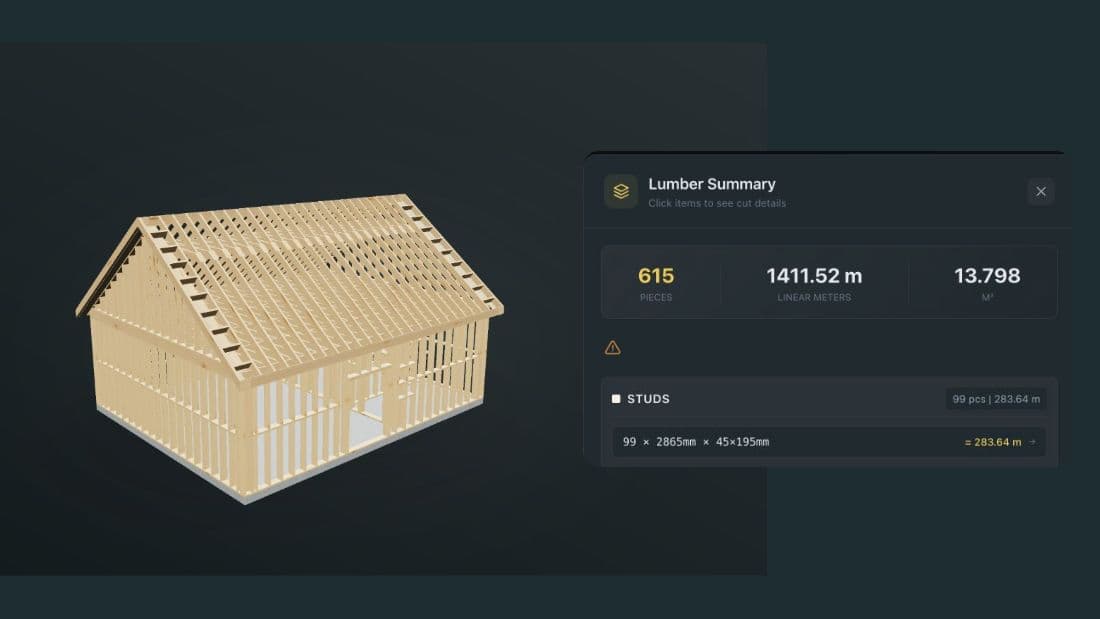
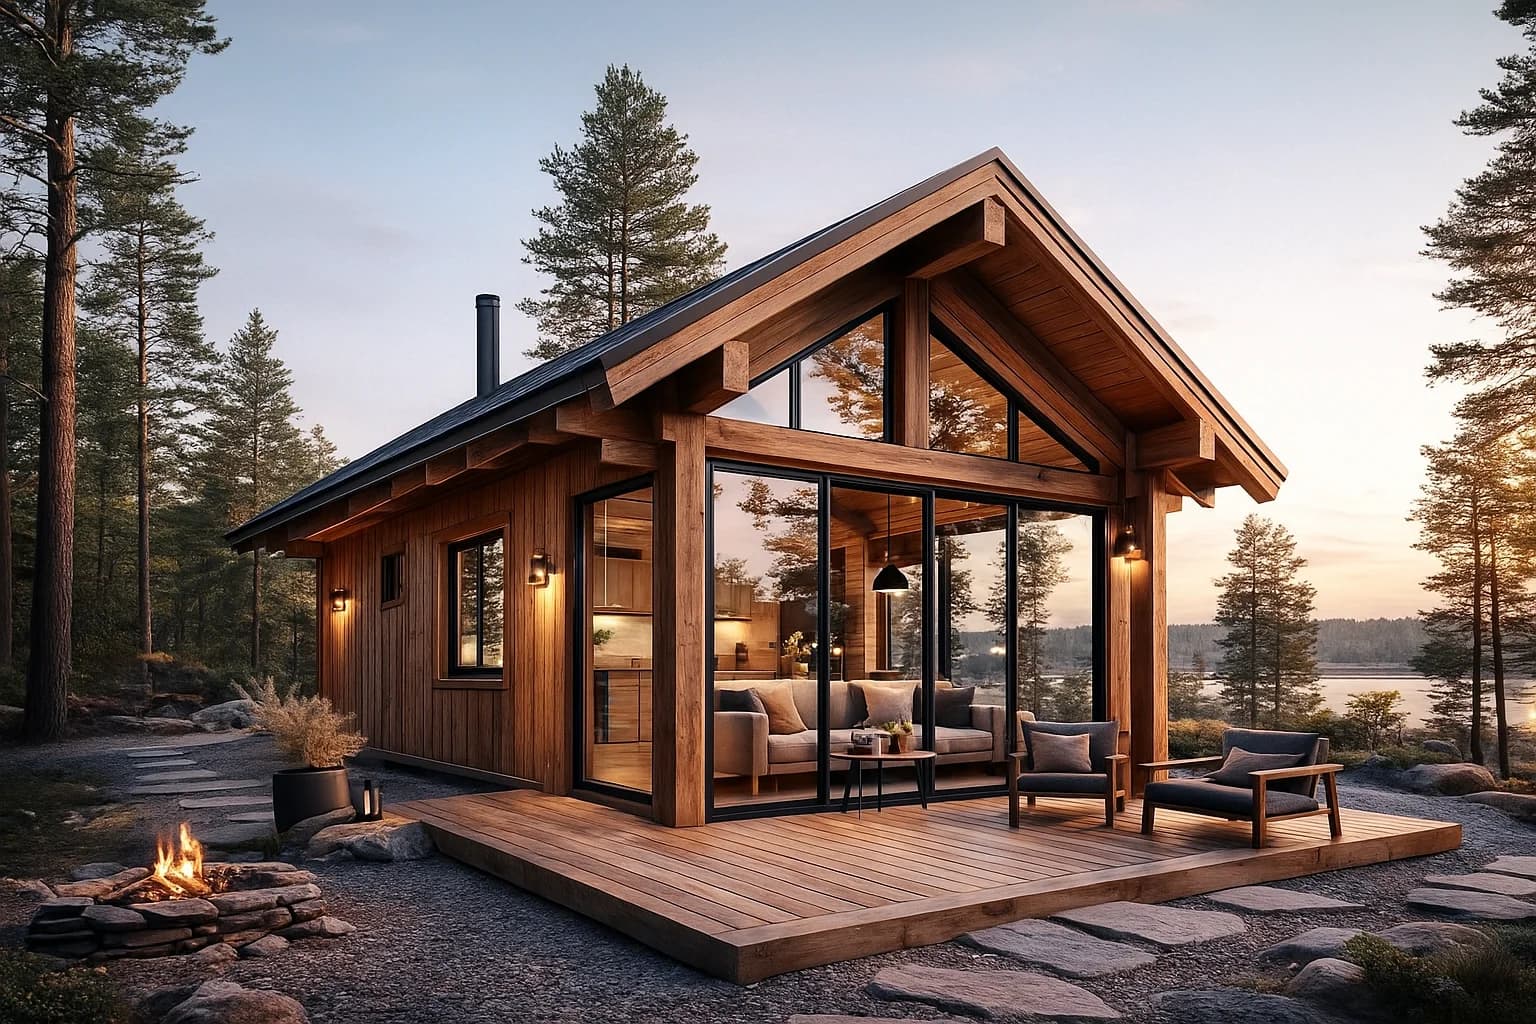
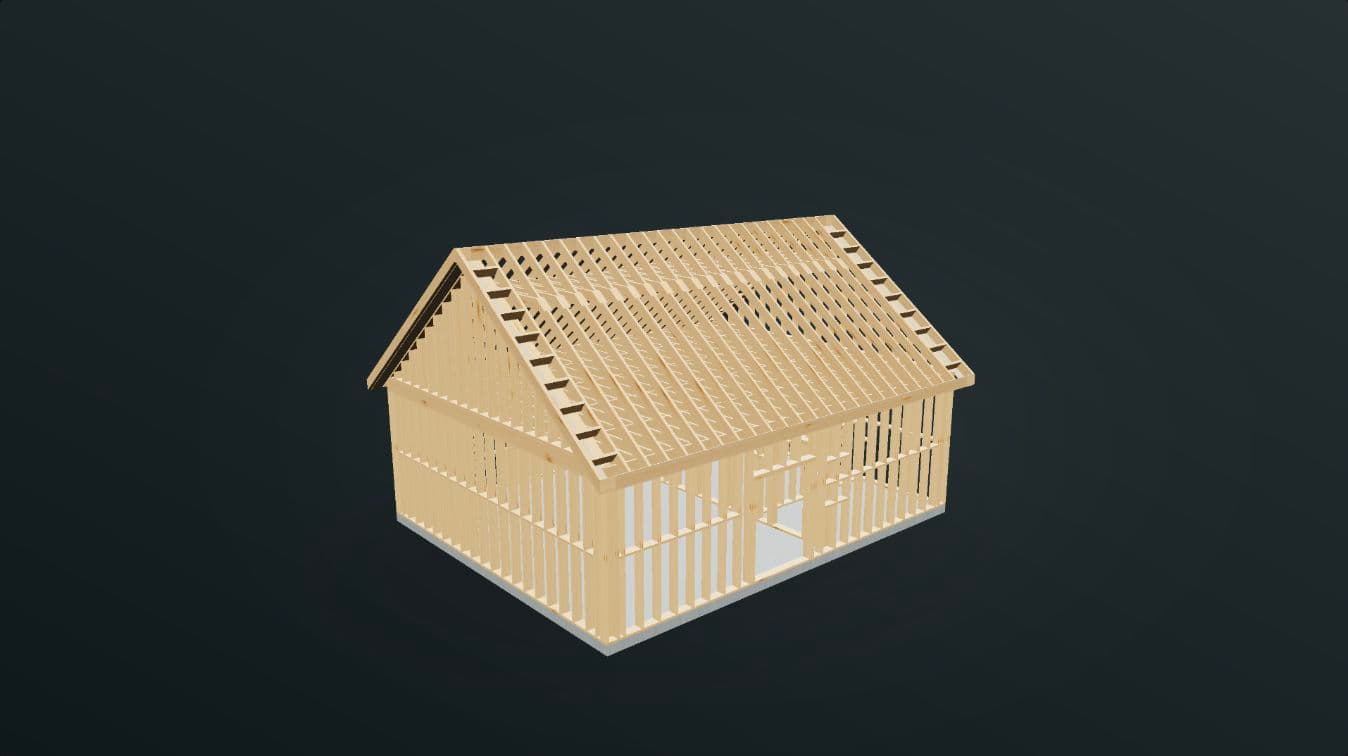
The house measures 8 × 10 m, approximately 26 ft 3 in × 32 ft 9.7 in. Rotate the model to inspect the walls, openings and roof. Use these views to decide which information you need for your own project.
Editor access requires an invitation. After you receive access, you can create your own project in the browser.
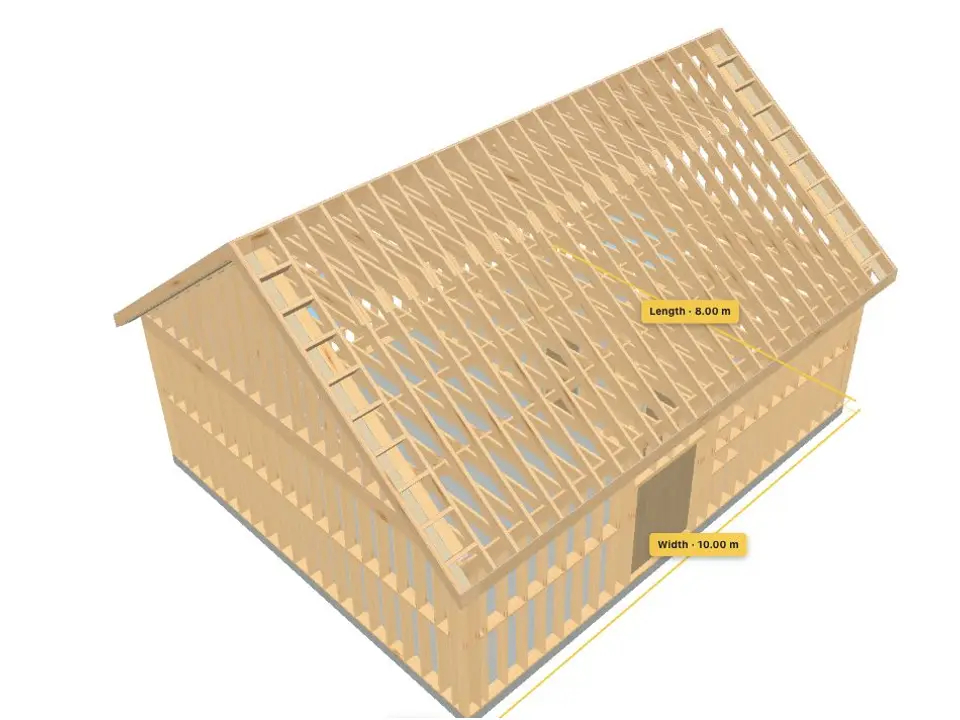
3D model in FrameVerk.
2. Establish the plan and main dimensions
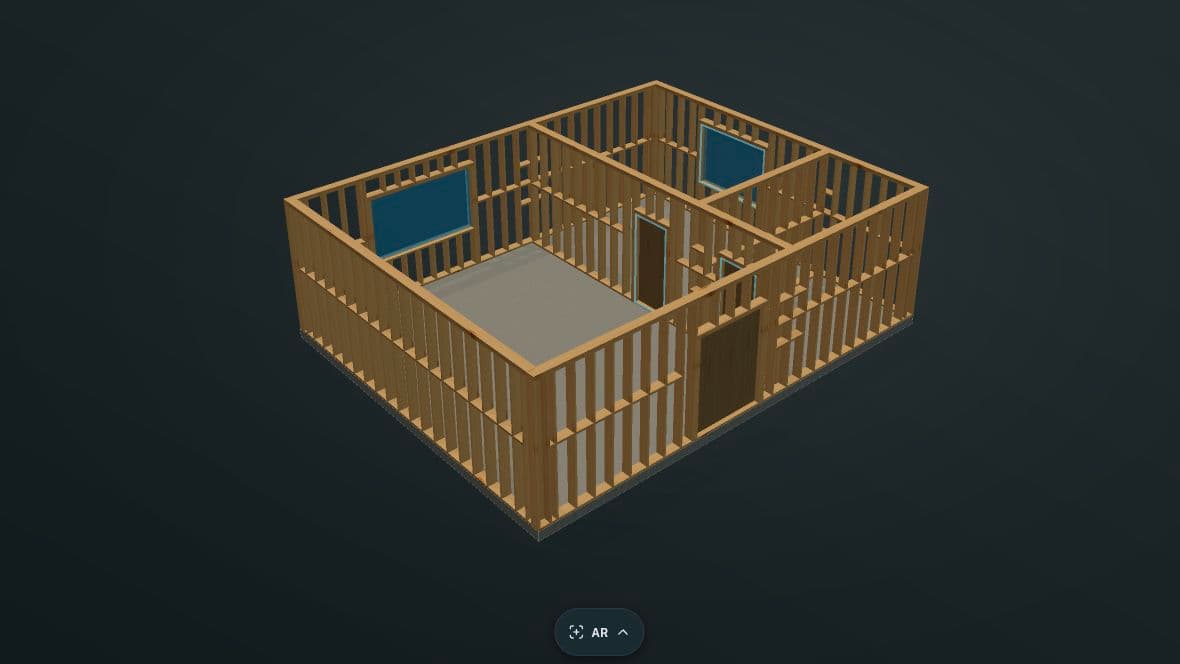
Begin with the building footprint. Set the main dimensions before you add more detail. The plan gives you a clear reference for the walls and the spaces between them.
Keep the design brief beside the model. Record the dimensions that the project must satisfy. Identify the openings and the main structural elements that the design needs. This gives each later change a clear purpose.
FrameVerk connects the plan and 3D views to the same project. You can check the spatial result as you develop the layout.
3. Add the frame as timber elements
Build the project with walls, openings, posts, beams and floors. The controls are specific to timber-frame work. Members have dimensions and identity that connect them to the material information.
Work through the structure in a clear order. Add the principal elements first. Then inspect the openings and the members around them. Move between the plan and 3D views when a connection needs closer review.
Choose one member as a check. Find it in the model. Compare its section and length with its material record. This is a practical way to understand the connection between the drawing and the list.
4. Define the roof with the frame below it
Choose the roof form. Set its dimensions, slope and direction. Then review the member spacing and overhangs. The roof controls create framing from these inputs.
Inspect the roof together with the walls, posts and beams. Check the result in 2D and 3D after a change. The public house provides a useful reference because its roof and wall frame are visible together.
Our estimate for this example is about two minutes. That time describes this example. The recorded editing sequence is accelerated; other designs and their checks can take longer.
5. Review the timber information
The model provides the basis for the timber list. Review the sections, lengths and quantities before you use them for pricing. Keep pieces with different lengths or cuts separate.
This connection is useful when the design changes. You can review the affected members and their material records in the same workflow. You do not need to use an independent drawing as the authority for each list entry.
This walkthrough covers the model, its displayed quantities and the shared 3D review.
6. Save the design and share the review
Save the project revision before you ask someone to review it. FrameVerk supports a view-only 3D link. The recipient can inspect the shared model without an account.
Use the model to make the review specific. Identify the wall, roof edge or opening that needs attention. Record the required change before the next design revision.
Before construction, obtain the appropriate engineering review, permits and professional checks. The browser workflow supports design and planning throughout this process.
Start with a model you can inspect
Open the house demo listed below. Follow the frame from its footprint to the roof. Then join the early-access waitlist from the browser design guide to request editor access.
Sources
- FrameVerk, “Browser-based timber-frame design with nothing to install,” checked 25 September 2026: https://frameverk.com/en/features/browser-based-design
- FrameVerk, “Timber-frame CAD built around real structural members,” checked 25 September 2026: https://frameverk.com/en/features/timber-frame-cad
- FrameVerk, “Roof framing connected to the timber-frame project,” checked 25 September 2026: https://frameverk.com/en/features/roof-framing
- FrameVerk, “Timber takeoff and cut lists generated from the model,” checked 25 September 2026: https://frameverk.com/en/features/cut-list-takeoff
- FrameVerk, “Demo tiny,” public view-only house model, checked 25 September 2026: https://frameverk.com/share/2673ffd2-b5ba-4380-9133-f0821e077b8b