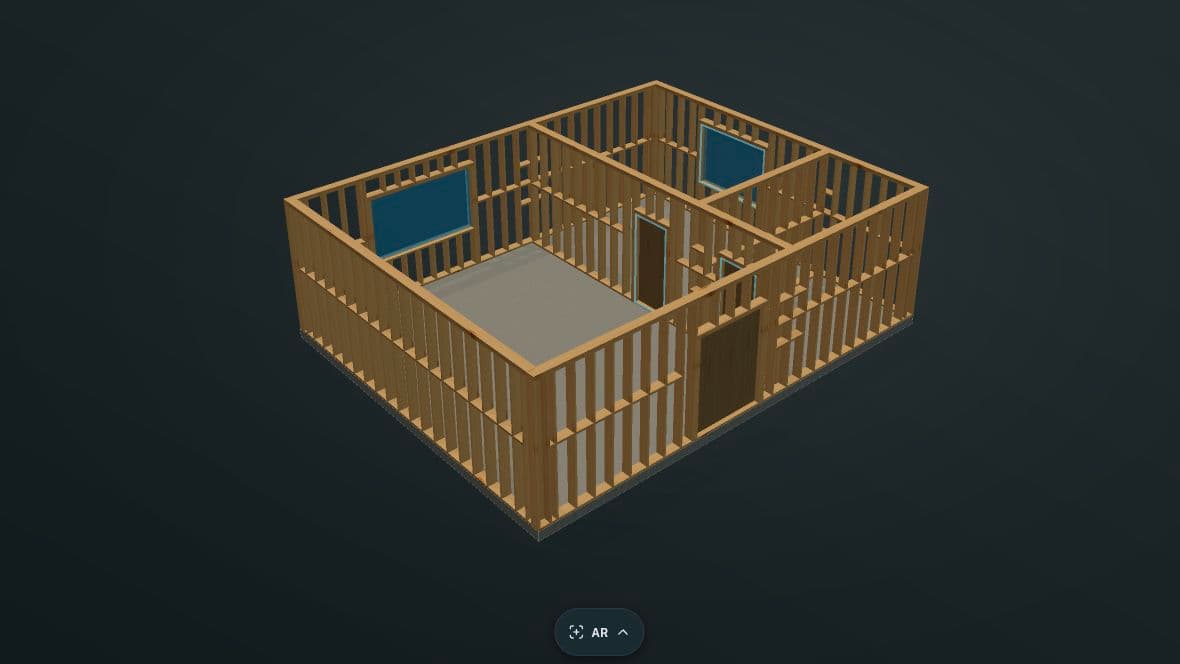
Why Use Dedicated Software for Timber Frame Design?
See how FrameVerk connects timber members, 2D and 3D views, roof framing, and project sharing in a browser, with no CAD installation.
FrameVerk brings timber frame design into your browser. You can develop walls, floors, posts, beams, and roofs in one project. Move between the plan and the 3D model. Use the same project for timber information and shared review.
That connection is the main reason to choose dedicated timber frame software. The work follows the building: place its elements, set their dimensions, inspect the structure, and review the result. FrameVerk keeps those tasks together, so you can concentrate on the frame you want to build.
Start in the browser
FrameVerk runs in a modern desktop browser. You can begin without a desktop CAD installation and save your project online. The workspace holds the model, saved versions, and related project information.
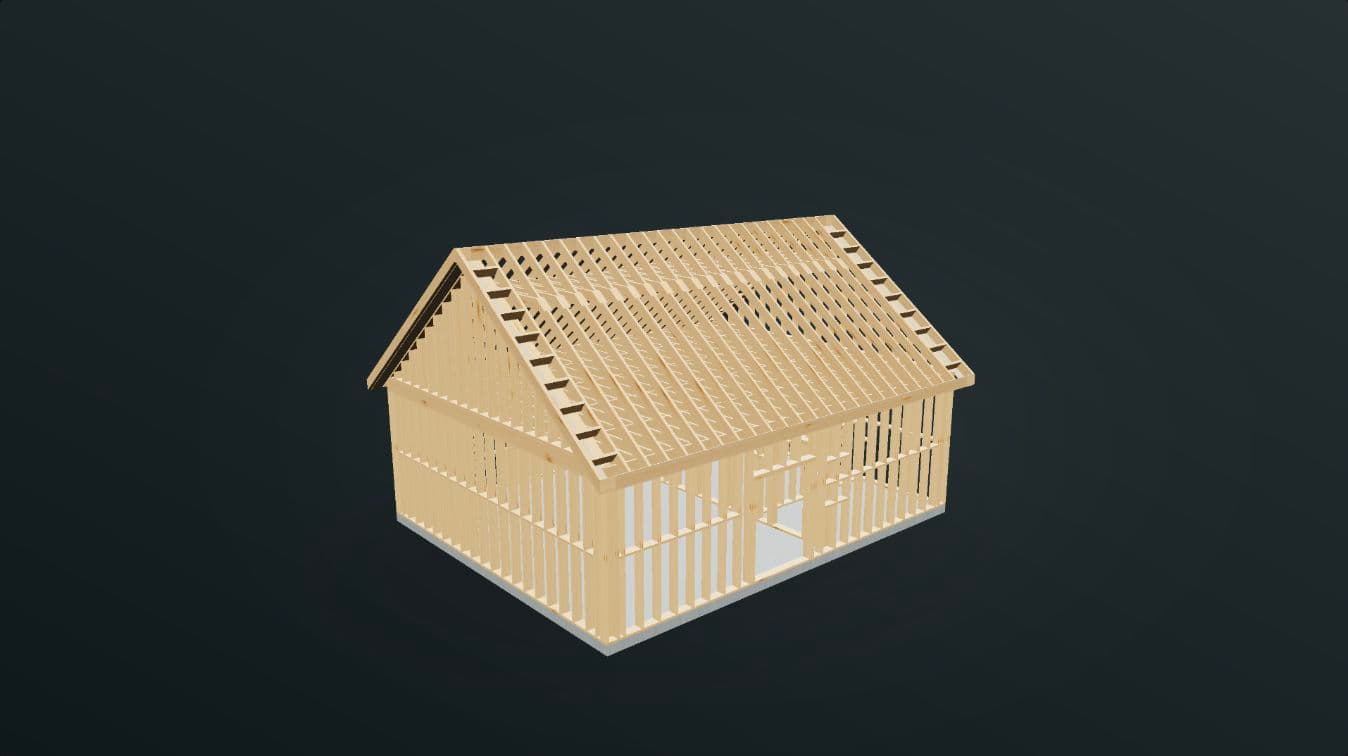
This gives you a simple starting point. Open the public demo on your current laptop. Try the viewing controls. Rotate the house. Inspect an opening. Look beneath the roof. You can assess the model before you request editor access.
Our estimate for this example is about two minutes. That time describes this example; other designs and their checks can take longer. The useful proof is the model you can inspect, together with the short build recording on the homepage.
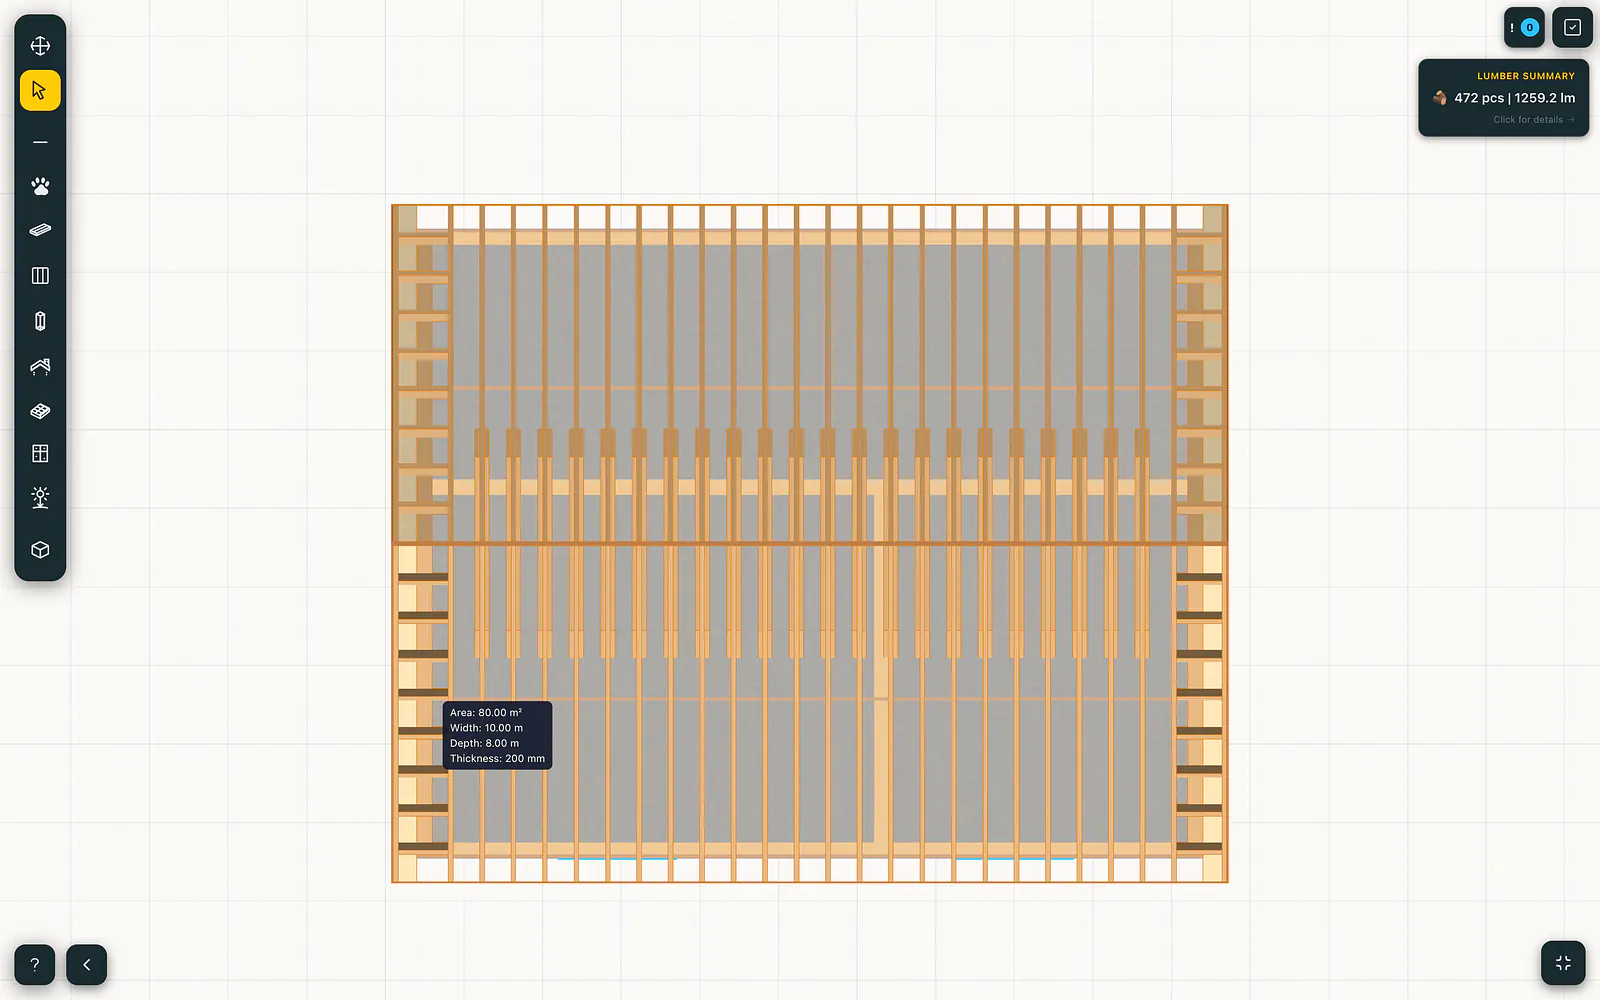
Plan view in FrameVerk.
Work with timber members
A timber design needs more than visible outlines. Each member has a position, section, and length that matter to the project. Those properties make a beam useful in both the drawing and the material information.
FrameVerk provides controls for walls, openings, posts, beams, floors, and roofs. These are identified project elements. Their dimensions and member references connect the design with the timber list.
This connection gives you a practical way to assess the software. Choose one member to follow through the project. Locate it in the model. Check its dimensions. With editor access, find its reference in the material information.
Review one design in 2D and 3D
A plan helps you inspect the layout. A 3D view helps you understand how the building elements sit together. FrameVerk connects both views to the same project.
That matters when you review a wall opening, a beam position, or the roof above the frame. You can use the view that makes the question easiest to understand, while keeping the project dimensions connected.
During an editor trial, make one controlled design change. Then check the affected members in both views. Review the related timber information. This is a useful test of the complete design process.
Use controls that understand the roof
Roof framing shows why dedicated controls are useful. FrameVerk lets you set the roof form, slope, direction, member spacing, and overhang. It uses those inputs to lay out the roof members.
You can inspect the roof with the walls, posts, and beams beneath it. The resulting members also feed the project's timber information. You can therefore review the roof as part of the building and its material requirements.
Use FrameVerk to develop and review your design. The engineer, required permits, and professional construction checks remain part of your project.
Share a model people can inspect
A project review is easier to follow when everyone can look at the same structure. FrameVerk provides a link to a 3D model that viewers can inspect without an account.
The shared view is read-only. Saved changes update the same link, and you can turn the link off when needed. A client or colleague can examine the current saved model without receiving an editable project file.
Use that view to discuss a specific opening, roof area, or member position. It gives the conversation a shared visual reference.
Choose through a real project
Start with the FrameVerk house demo. Compare its walls, openings, and roof with the work you need to do. Record the dimensions and details you want to test when you receive editor access.
Then assess the connected process: placing timber elements, reviewing them in two views, checking their information, and sharing the result. This keeps your software decision focused on useful project work.
Open the public demo from the FrameVerk homepage. Join the waitlist to request editor access. Tell us what you want to design.
Sources
- FrameVerk, “Timber-frame CAD built around real structural members,” accessed 25 September 2026: https://frameverk.com/en/features/timber-frame-cad
- FrameVerk, “Browser-based timber-frame design with nothing to install,” accessed 25 September 2026: https://frameverk.com/en/features/browser-based-design
- FrameVerk, “Roof framing connected to the timber-frame project,” accessed 25 September 2026: https://frameverk.com/en/features/roof-framing
- FrameVerk, “Timber Frame Design Software,” accessed 25 September 2026: https://frameverk.com/en/solutions/timber-frame-design-software
- FrameVerk, “Timber Frame Design Software & Cut Lists,” accessed 25 September 2026: https://frameverk.com/en